# Configure Mobile Devices for Microsoft 365 e-mail
User guide to how to configure Microsoft 365 on various mobile devices.
# iPhone - iOS Client
# Adding a 365 mailbox to your phone
### iPhone
---
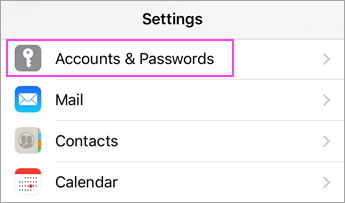
Go to your device's **Settings**, scroll down and tap **Mail** > **Accounts** >**Add Account**.
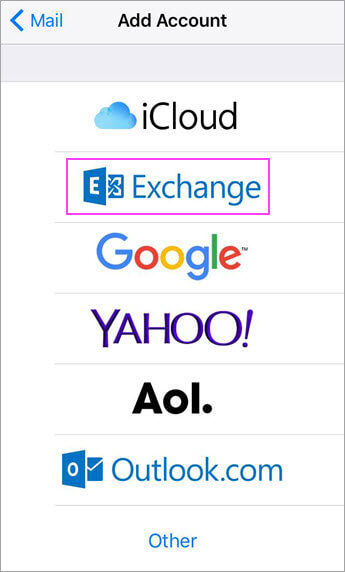
Select **Exchange**.
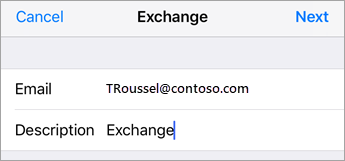
Enter your Microsoft 365 email address, password, and a description of your account. Tap **Next**.
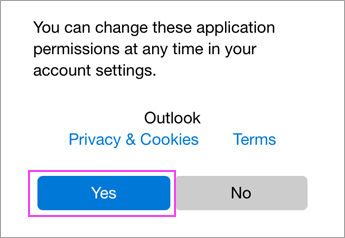
The Mail app may request certain permissions such as accessing your calendar and contacts. To agree, tap **Yes**.
Then choose the apps you want your email account to sync with your iOS device and tap **Save**.
Now you're all set to go!
# iPhone - Outlook Client
# Adding a 365 mailbox to your phone
### iPhone(Outlook)
---
Open **Outlook for iOS**. The icon looks like this:
**Note:** Available for iOS devices using **iOS 10.0** or higher.
Open the collapsed menu in the upper left corner.
**Note:** First time using Outlook for iOS? Just tap **Get Started**.
Tap **Settings**
> **Add Account** > **Add Email Account**.
Type your full email address, then tap **Add Account**.
Enter your email account password and tap **Sign In**.
Tap **Yes** or **Allow** to give Outlook permission to sync calendar, contacts, etc.
Swipe through the intro and you're now ready to use Outlook for iOS!
# Android (Samsung Devices)
# Adding a 365 mailbox to your phone
### Android (Samsung)
---
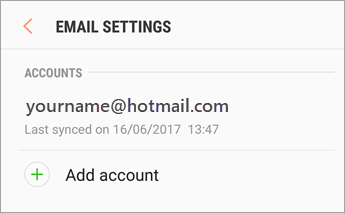
Open the Samsung Email app and tap **Add Account** if it's your first time.
Or, go to **Settings** in the app > **Add account**.
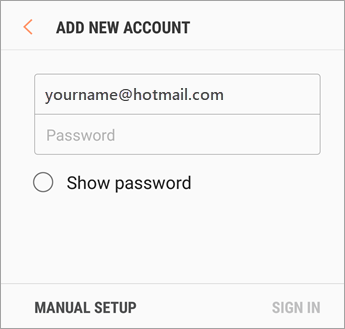
Enter your email address and password. Tap **Sign in**.
**Note:** If the email app detects your provider, you may be redirected to a different sign in screen.
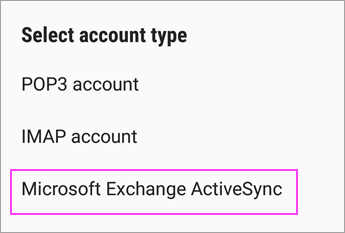
If you're prompted to select account type, choose **Microsoft Exchange ActiveSync** to sync contacts and calendars.
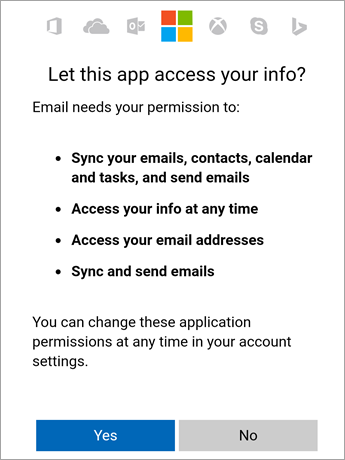
Tap **Yes** or **Ok** to confirm settings and permissions. What you see may vary depending on what kind of account you're setting up.
Syncing email, calendar, contacts, and tasks may take a few minutes.
If you see an email that says "**Action Required to Sync**," open it and tap **Use another Mail app instead**. If you don't see this message, skip this step.
# Android (Non Samsung)
# Adding a 365 mailbox to your phone
### Android (Non-Samsung)
---
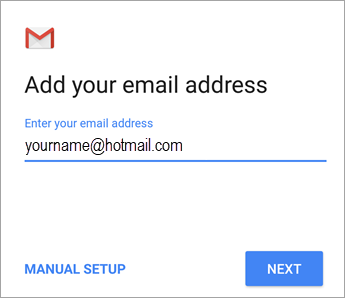
Open the Gmail app.
Tap the menu icon in the upper left corner > **Settings** > **Add account** > **Exchange and Microsoft 365**.
Enter your full email address and tap **Next**..
Enter your password and tap **Next**
You may see a **Redirect request** screen. Tap **OK**.

On the Incoming server settings screen, change your server to **outlook.office365.com**.
Follow any prompts you may get for security or device permissions, sync settings, and more.
If you have a Microsoft 365 work or school account, you may also be asked to confirm **Remote security administration** and approve additional security measures. In this case, choose **OK** or **Activate**.
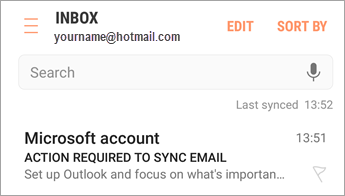
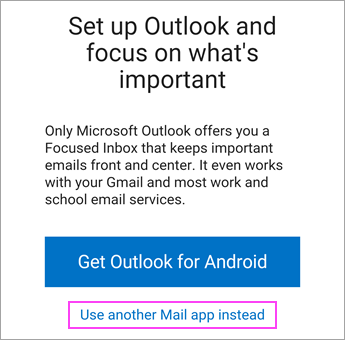
Go to the inbox you just set up. If you see an email that says "**Action Required to Sync Email**," open it and tap **Use another Mail app instead**.
If you don't see this message and emails are syncing, skip this step.
Pull down the Android notification bar by swiping down from the top of your screen.
If you see a notification that reads "**Unable to sync calendar and contacts**," tap it. Then tap **Allow** to give access and you're done!
**Note:** If you don't see a sync error, verify your calendar and contacts are syncing.
# Outlook 365 for Android
# Adding a 365 mailbox to your phone
### Android (Outlook)
---
To add a 365 account to Outlook, first open Outlook then open the **Menu**
> **Settings**
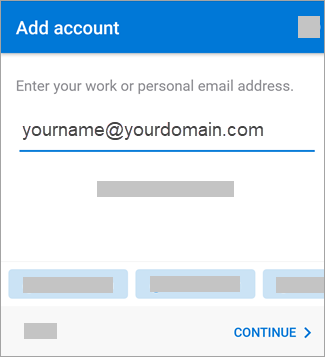
> **Add Account** > **Add Email Account**.
Enter your full email address, then tap **Continue**.
Enter your email account password and tap **Sign In** or **Next**.
That should be it! Your email should be added and working.
# Blackberry
When you set up a Microsoft Exchange ActiveSync account, you must enter some server and configuration settings.
1. In the BlackBerry Hub+ Inbox, tap The menu icon .
2. Next to Accounts, tap the add accounts icon .
3. Tap Add a BlackBerry Hub+ account.
4. Type your email address.
5. Tap Manual setup.
6. Tap Microsoft Exchange ActiveSync.
7. On the Server settings screen, enter the following info:
- the Password field, enter your email account password.
- In the Server field, enter your email provider's server address.
- In the Port field, enter the port number.
- If necessary, in the Security type drop-down list, select a security type.
8. Tap Next.
9. On the Account settings screen, review or change any of the settings.
10. Tap Next.
11. Optionally, change the display name or display colour for your email account.
Tap Done.
For a visual guide head to - [https://deviceguides.vodafone.co.uk/blackberry/keyone-android-7-1/messaging/set-up-your-phone-for-exchange-email/](https://deviceguides.vodafone.co.uk/blackberry/keyone-android-7-1/messaging/set-up-your-phone-for-exchange-email/)
Please note the above link goes through the settings rather than the Hub+ app so it may look slightly different for the first few steps.
If you need to remove an account from the Blackberry, please follow this guide - [Removing Email Account From a Blackberry](http://10.1.0.248/index.php/Removing_Email_Account_From_a_Blackberry)